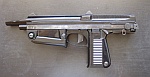
Opening commentsDisassembly is fairly similar to the real Kar98k. You can see the main process for real gun nicely documented here:
http://www.surplusrifle.com/mauser98k/rifledisassembly2006/index.aspMain difference in modelgun is that the forward piece is integral with bayonet lug and does not fit over the front sight (even with protective sleeve removed) - this prevents it from removal :-( After you slide this part off the wood, it will just hang on there, potentially damaging finish on the barrel.
Bolt disassemblyI have not disassembled my bolt, as I did not see a reason to do that.
Bolt disassembly process for the real rifle, should be the same in modelgun. One thing - do NOT use a wooden block to push the firing pin during disassembly. This is when you should use the metal-plated hole in the stock to avoid damaging the pin while compressing the spring:
http://www.surplusrifle.com/shooting/mauserboltdisassembly/index.aspIn a real rifle sometimes after you remove bolt it can get uncocked and cannot be installed back. This should not happen easily as bolt has an additional pin that prevents back part of bolt from rotating (and uncocking). This pin is released only when bolt is in forward position and pin is pressed against the bridge.
Should you somehow uncock bolt, please see the following guide with pictures for procedure to cock it back:
http://www.surplusrifle.com/shooting/mauserboltfix/index.aspSights disassemblyFront sight is covered by a metal tunnel. This tunnel can be slightly bent open and pushed forwards (or backwards).
Sight itself cannot be removed, I think it is pushed onto the body and held by extreme friction, or is otherwise permanently attached.
Back sight can be simply pulled back. You can then pull out flat spring from under it.
Sight mounting cannot be removed, it is moulded with the rest of the body.
Note: a screw that you see near back sight does not hold sight itself, but internals.

 Main disassembly
You should start by removing bolt:
- pull back bolt, remove any cartridges, check that chamber is empty.
- pull bolt retainer to the left.
- pull bolt to the back, removing it from the model. You might need to press trigger if it gets blocked on a sear.
Next step is separating front pieces:
- remove sling from both attachment points. It is not necessary (as you can see on my pictures), but it will make process much easier.
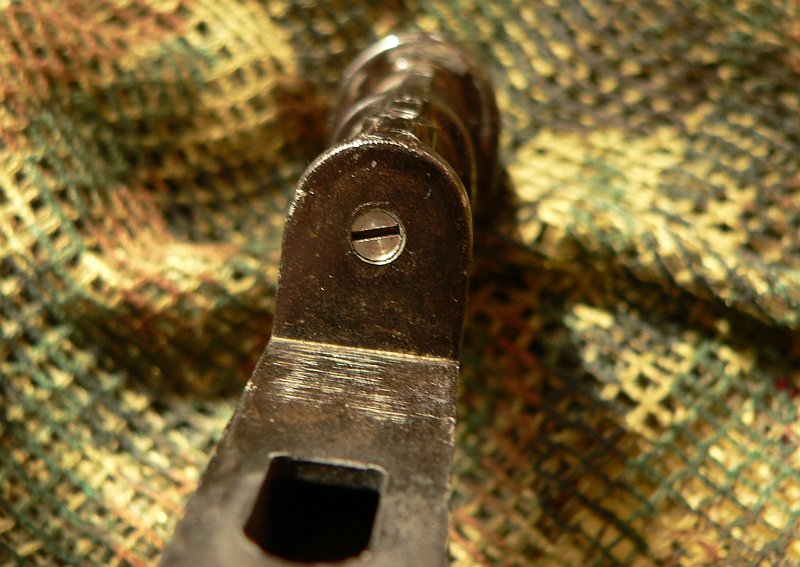
- on the right side, near front, push flat metal spring down to free the front metal piece/bayonet lug.
- push metal piece forward. Take care not to scratch barrel too much. Unfortunately as this piece is a single piece, it cannot be removed over the front sight. I plan to replace it with a real bayonet lug, if it will fit.
- remove flat spring and store it.
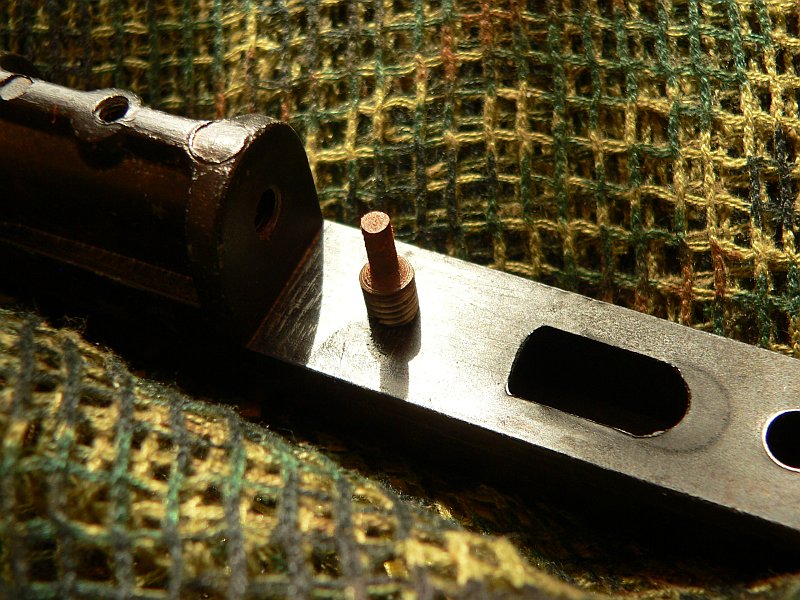
- slide forward oval metal retainer ring with sling attachment.
- you should now be able to remove upper wooden grip. First move the front part upwards, it should then clear the back part from under the main body.


Removing magazine. On the bottom, just between trigger guard and bottom plate of the magazine push pin inside. Slide bottom plate, it should clear body and jump out of the model. Note: there is a spring inside! You can also leave that part until whole trigger assembly is removed, as I did.


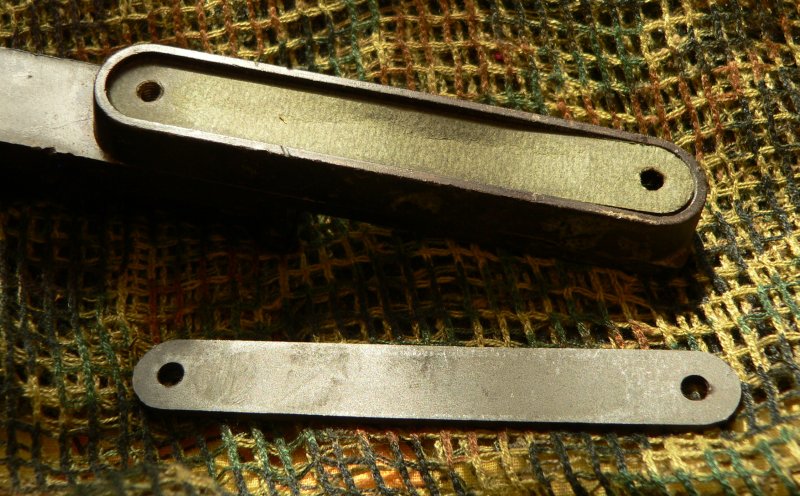
Separation of the whole model into three main parts:
- at the bottom, near front of the magazine bottom plate, there are two screws.
- remove the small screw first, it should unlock the larger one.
- remove larger screw.
- behind trigger guard remove another large screw. Note: at this moment modelgun will separate itself by magazine spring power, if you have not removed magazine. Note: barrel has a tendency to weigh down and pull body to the floor, unless it was supported


In addition to bolt and wooden foregrip you should now have three main parts: wooden stock, main body, trigger guard, plus the screws. I will not cover removing trigger from the body.
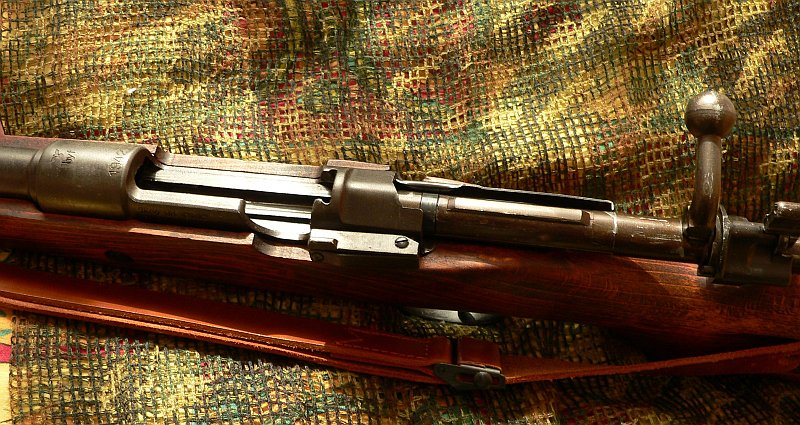
The next step required for cleaning is to separate chamber from the body:
- on top, near back of the back sight there is a single screw - remove it.
- at the bottom there are two screws now. Back one only holds bypass cover. Front one holds cover, as well as whole chamber to the main body. Unscrew the front screw only. Note: picture shows both screws removed, my mistake in sequence.
- you should now have chamber separated from the main body.


Chamber part has several functions: there is an actual chamber area, where cartridge goes. Detonator pin is screwed into the back of the chamber, as you can see at the photo. Gas from chamber is redirected down, to the bypass, and then back up to barrel entrance.


Note how deep detonator pin was, then unscrew it for cleaning.
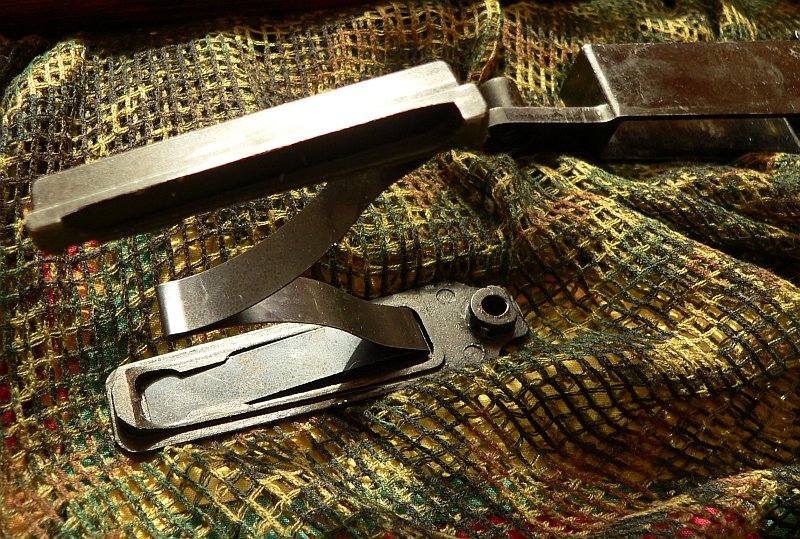
Open bypass for cleaning:
- remove the other screw from the bottom of the chamber.
- remove metal cover
- remove paper under metal cover

Clean insides of the bypass.
If you want to make modelgun louder, you can remove paper or even metal cover from bypass. This has a disadvantage of leaving more residue after firing it.
This completes modelgun disassembly for cleaning.
Reassembly is quite straightforward - just follow the opposite steps to put everything back together.
 Separating barrelNOTE: DO NOT DO IT UNLESS YOU MUST.
My Mauser had a wobbly barrel and I though I could fix it by removing barrel from the main body, and then somehow tightening it. Barrel is held only by friction. The first time it is hard to remove, but in the process you will destroy tight fitting. When you put barrel back, it will NOT be held in place, and you will be able to remove it easily. Of course this is not something desirable to have barrel falling out of the model :-/
After removing I noticed that back part of the barrel, a softer ring of metal behind the recess slightly broke off (you can see it on the second picture). It seems that barrel is made of harder metal (steel?) for strength, but covered with a softer metal on top. I'm not 100% sure how to explain it. Somehow I did not take pictures, I was so concerned with putting it back :-/
I considered using glue or other solutions, but ended up with the simplest one: a shim. Drank can of beer ;-) cut out a small strip of aluminium, placed it on top of the barrel and pushed back inside.... Now the barrel is not only held in place, but does not wobble anymore.
Repeating again: unless you absolutely must, DO NOT remove barrel from the frame. Eventual wobble should be rather fixed by pushing a shim into the gap without removing anything.


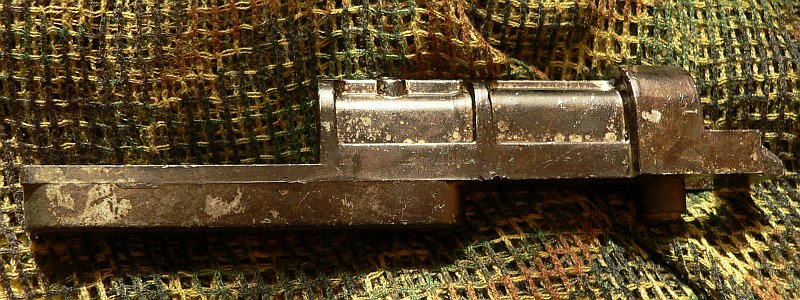
The last picture shows a barrel see-through. You can see that thanks to bypass it is an open barrel, yet it is almost completely blocked.