There are already excellent guides on how to strip down MP40 for most purposes.
For sake of completeness I stripped down lower receiver and took some pictures during the process.
Step 0Further instructions are based on assumption that you have succesfully separated upper receiver from lower receiver, as described in other guides in this section.
Step 1Remove side panels.
Start by extending stock.
Next find two screws at the left panel, one near front, one near back.
Unscrew them. Front crew is shorter than back screw.
Nuts are fixed in the left panel, they should not fall out :-)
Remove panels, store them out of way, together with screws.


 Step 2
Remove pistol grip.
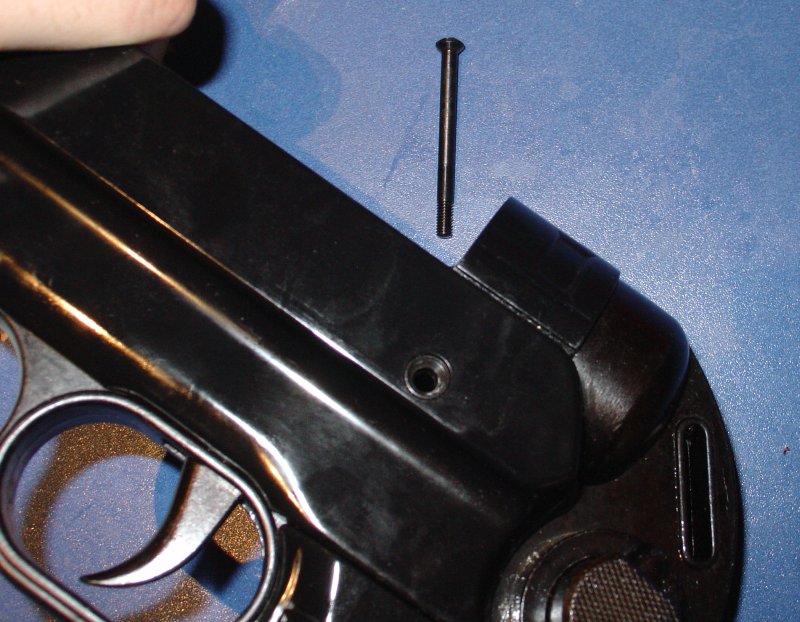
There are two screws underneath lowe receiver, in front of trigger guard.
Unscrew the smaller one to unlock the larger one.
Unscrew the larger screw.
Carefully separate pistol grip (with stock) from lower receiver.
Remove cap from back end of lower receiver.


 Step 3
Remove trigger assembly.
This is easier to do than put it back inside ;-)
Start by removing two pins keeping everything inside to the lower receiver.
One smaller in the back is pivot point for trigger.
Another, larger, is near middle, it serves as another pivot point for sear.
Spring and pin that pushes trigger will probably fall around around that time ;-)
Remove it, making sure it does not "spring out" and damage something.
Now there are two major parts inside lower receiver.
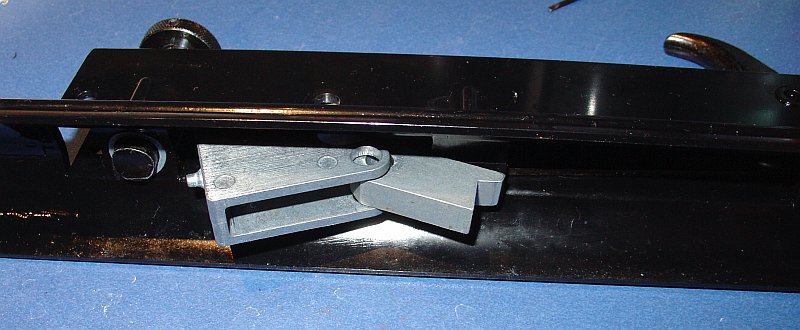
There is a metal bracket at the front, and a group: trigger still linked with sear and trigger bar.
Remove metal bracket first. You will need to wiggle it carefully.
It should come out quite easily, though you might need to move trigger group around.
Next remove trigger group. You will need to wiggle it, move trigger and sear around a bit, but it should go out easily.


 Step 4
Disassemble trigger group.
There are two pins, one holds sear, another trigger.
They might fall out by themselves before you get chance of removal - do not lose them.
Remember positions how it all goes together! It is easy with MP40, but it is essential step :-)


 Step 5
Inspect and clean parts from dust/rust that might have accumulated on them.
Trigger, sear, pins and metal bracket should not rust, but trigger bar is definitely rust-prone.
Step 6Reassembly follows in reverse order.
There are two main difficulties:
The first is to get trigger group and metal bracket back inside receiver in correct position.
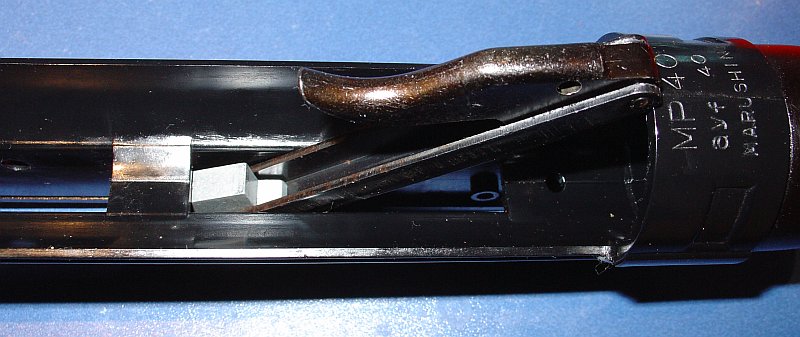
The second it to put trigger spring/pin inside in a correct position.
Patience, patience, patience...
Initial photos show how I managed to put trigger group back.
The last photo is an example of incorrectly positioned trigger spring. "Head" did not get into hole in receiver.


(edit: updated photos, corrected descriptions)
