Cerwyn
Cerwyn (Site Admin)
")

Number of posts : 11073
Age : 65
Location / Country : North Wales
Registration date : 2008-07-20
 | Subject: Marushin MP40 (abs)...Basic Reassembly Guide  Mon Aug 04, 2008 5:48 pm Mon Aug 04, 2008 5:48 pm | |
| Basic Re-assembly Guide.... Marushin MP40 (ABS)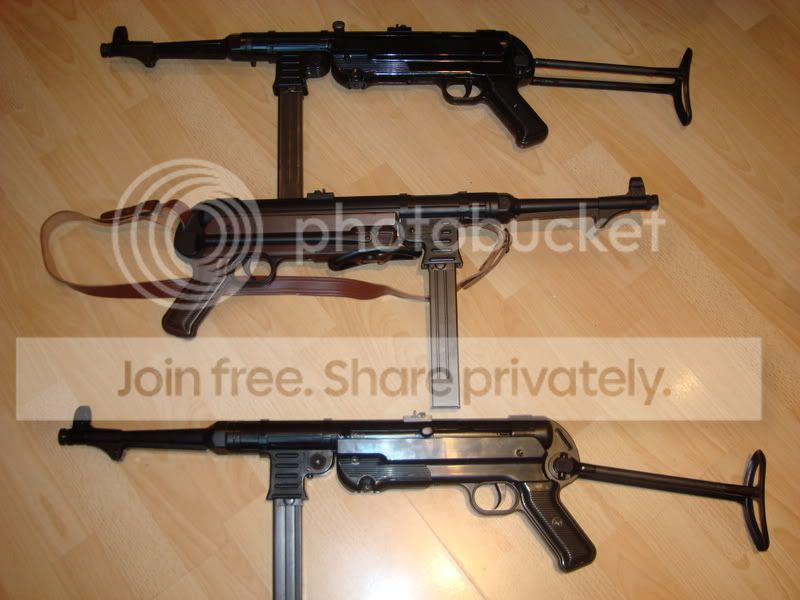 Field Stripping, Cleaning and Inspection of components have already been covered in previous Step by Step Guides so this guide begins with your MP40 already stripped into its component parts, cleaned, lubricated and inspected Field Stripping, Cleaning and Inspection of components have already been covered in previous Step by Step Guides so this guide begins with your MP40 already stripped into its component parts, cleaned, lubricated and inspected
Step 1. Detonator Pin and Chamber.
The metal Detonator Pin is a push fit into the plastic Detonator Chamber.
A light spray with WD40 or Silicone Oil will protect both Pin and Chamber.
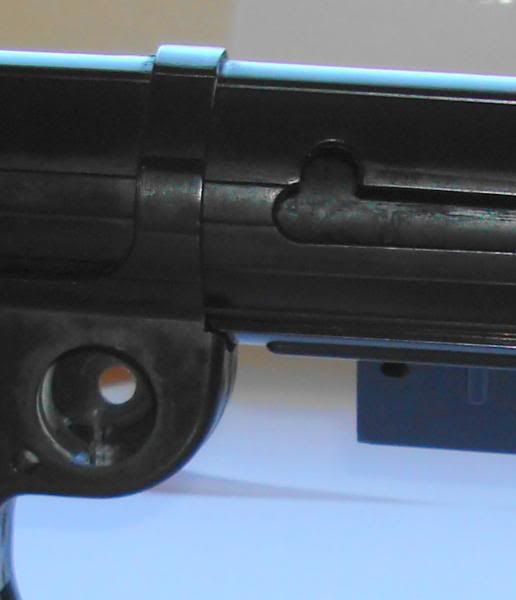
Simply push the pin back into the chamber to locate.   Give the outside surface of the Detonator Chamber a light coating of Silicone Oil or grease, align the notch with its partner on the Barrel tube and slight it in until it seats home. Make sure the notches align. Give the outside surface of the Detonator Chamber a light coating of Silicone Oil or grease, align the notch with its partner on the Barrel tube and slight it in until it seats home. Make sure the notches align. Step 2. Bolt and Recoil Tube Step 2. Bolt and Recoil Tube
Simply push the telescopic Recoil Spring tube into the recess in the rear of the Bolt.
Give the Bolt assembly a light coat of WD40, Silicone Oil or Gun Oil, wipe away any excess, only a light coat is required. Step 3. Upper Receiver. Step 3. Upper Receiver.
Lightly spray inside the Receiver Tube oil then push the Bolt and Recoil Tube inside guiding it along the slot. Double check the Bolt locates over the Ejector correctly.  Step 4. Assembly of Receiver Halves Step 4. Assembly of Receiver Halves
Upper and Lower receivers are locked and secured together at 3 points.
First point being by "bayonet fixing" type lugs around the outside of the Upper Receiver and inside the end-cap's ring of the Lower receiver
Upper Receiver lugs...


Lower Receiver Lugs... (note receiver stripped bare for clarity)

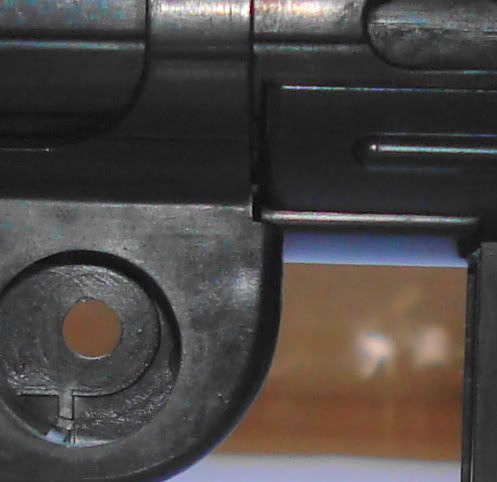
Second point is the spring loaded take down pin that locates in a drilled hole on the underside of the upper receiver tube.

Third point is the slot cut into the back of the magazine well...
To assemble then,
Holding the Lower Receiver with one hand, slide the Upper Receiver back along the Lowers’ body, the Upper Receiver tilted over at an angle like this so that the Rear sights rest against the Lower Receivers’ body
 Squeeze the Trigger and keep it down… Squeeze the Trigger and keep it down…
Align the "bayonet fixing" type lug of the Upper receiver tube like this...
then slide the Upper Receiver back until it locates in the end of the Upper Receivers’ end cap  Twist the Upper Receiver back, anti clockwise into it’s correct alignment to lock the "bayonet fixing" lugs n place and let the trigger go. Twist the Upper Receiver back, anti clockwise into it’s correct alignment to lock the "bayonet fixing" lugs n place and let the trigger go. You should hear a satisfying Click as the Sear locates itself in the slot, then twist the locking ring underneath the Lower Receiver allowing it to spring back into place. You should hear a satisfying Click as the Sear locates itself in the slot, then twist the locking ring underneath the Lower Receiver allowing it to spring back into place. 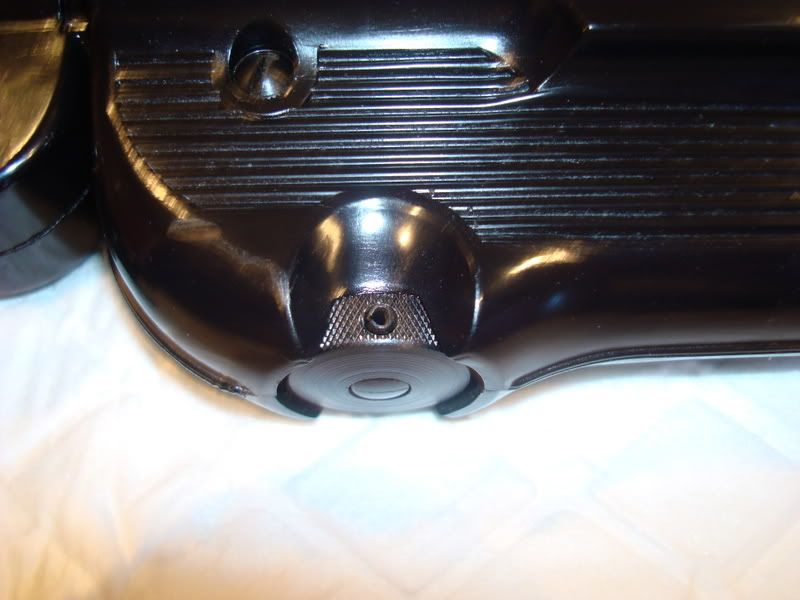 Both halves should now be locked together. Both halves should now be locked together.
If not, first try twisting both halves a little until your hear a Click.
If this fails, pull apart and try again…
Step 5. Barrel Assembly
First replace the Sling loop and washer.
Push the barrel tube into the Receiver and begin to thread the barrel nut into place.  I find that the nut will just start to tighten well before it’s finally home and at this point twist the barrel tube slowly into correct alignment. Mine clicks when it’s aligned and allows the barrel nut to thread all the way down to tighten. I find that the nut will just start to tighten well before it’s finally home and at this point twist the barrel tube slowly into correct alignment. Mine clicks when it’s aligned and allows the barrel nut to thread all the way down to tighten.
6. Before going any further, pull the cocking lever back to check it operates properly  Squeeze the trigger and check free movement of the bolt within the receiver. Squeeze the trigger and check free movement of the bolt within the receiver.
7. Insert the magazine. Note that unless you intend to fire your model gun at this point, ensure the magazine is empty.
Magazine springs will weaken and set coil bound if left under tension for long periods.
8. And finally… Wipe your MP40 down with a soft oily rag to get rid of any excess oil and finger prints. Ref: www.mp40modelguns.com/forum2/viewtopic.php?t=2299Basic Stripdown
Ref: www.mp40modelguns.com/forum2/viewtopic.php?t=2307 Cleaning & LubricationRef:www.mp40modelguns.com/forum2/viewtopic.php?t=2312 Parts InspectionRef:www.mp40modelguns.com/forum2/viewtopic.php?t=2338 Troubleshooting GuideRef:www.mp40modelguns.com/forum2/viewtopic.php?t=2293 Clean'&Prep'ing Cartridges
Ref:www.mp40modelguns.com/forum2/viewtopic.php?t=2264 Loading Marushin MP40 CartridgesCerwyn | |
|
Cerwyn
Cerwyn (Site Admin)
Number of posts : 11073
Age : 65
Location / Country : North Wales
Registration date : 2008-07-20
| | Subject: Re: Marushin MP40 (abs)...Basic Reassembly Guide Mon Sep 22, 2008 2:56 pm | |
| | |
|
