Cerwyn
Cerwyn (Site Admin)


Number of posts : 11090
Age : 65
Location / Country : North Wales
Registration date : 2008-07-20
 |  Subject: Hudson M3A1 "Grease Gun"... Basic Reassembly Guide Subject: Hudson M3A1 "Grease Gun"... Basic Reassembly Guide  Mon Aug 04, 2008 5:51 pm Mon Aug 04, 2008 5:51 pm | |
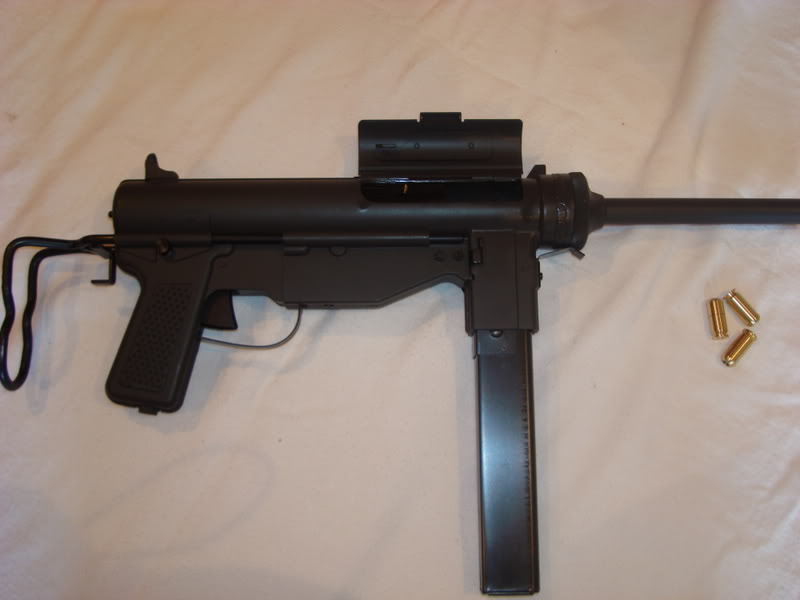
| Basic Re-assembly Guide... Hudson M3A1 "Grease Gun"
In fact, the Grease Gun only requires one single Allen Key for re-assembly after a Field Strip. The guns’ own skeleton stock is designed for use as a strip and assembly tool.
If the Bolt and Carrier have been stripped for thorough cleaning or repair then a single Phillips (Cross Head) screwdriver will be required.
Field Stripping and Cleaning are covered in seperate Step by Step Guides so this guide begins with your Grease Gun already stripped into its component parts, cleaned and lubricated.
Inspection of parts for damage will be dealt with in a separate Guide.
Step 1. Detonator Pin and Chamber.
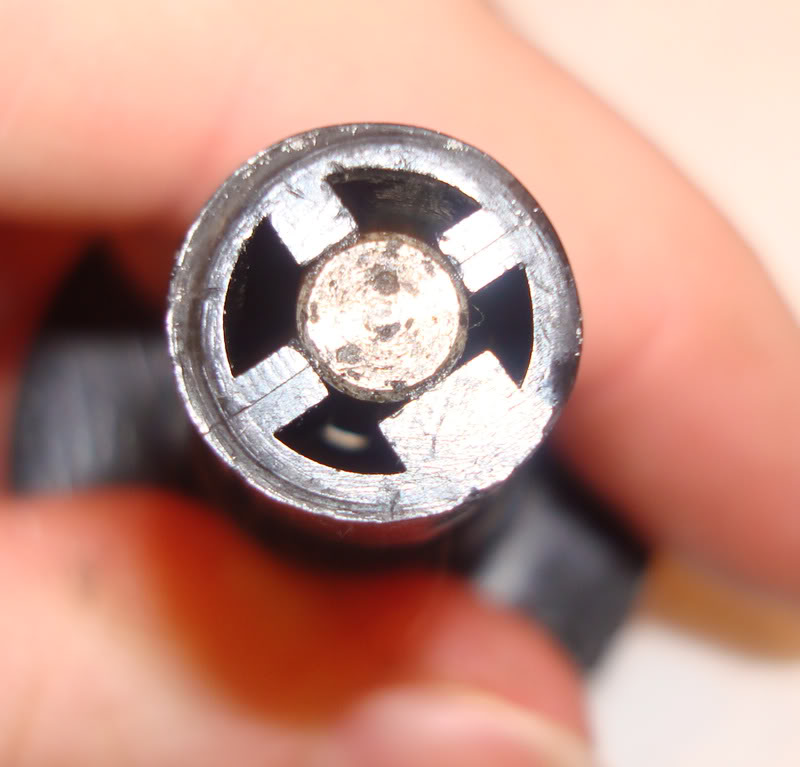
The metal Detonator Pin is secured by a grub screw into the plastic Detonator Chamber. A light spray with WD40 or Silicone Oil will protect both Pin and Chamber.
Simply push the pin back into the chamber to locate, thread the grub screw in place and tighten.
 
Check the pin has been pushed into the chamber until it sits flush with the base like this
[Top Tip...When you put the greasegun back together leave the grub screw that holds the detonator pin out, apparently this prevents the chamber from splitting which is a common fault with this model. (added by Kickback 24/12/07) Thanks Kickback!

Thread the Chamber into the barrel and tighten it home using the Stock.
Step 2. Re-assembly of Bolt and Carrier
Note: The Bolt should only be removed from the Carrier if Repairs are essential. The screws used thread into moulded plastic which is weak and subject to wear

Position the Bolt into the plastic carrier and fasten securely with the screws

Check the Extractor still moves freely Slide the Recoil Springs over the Guide Rods

Push the two rods through the Bolt carrierSlide the Bolt Carrier down the rods against Spring pressure

Fit the End Cap back in place.

Keeping hold of the Bolt and Carrier, fit the Spring Clip to lock the assembly together.

Check the Bolt & Carrier slides freely along the Guide Rods
Step 3. Re fitting the Bolt assembly.
Guide the Bolt assembly into the Receiver and push it home. Squeeze the trigger to allow the assembly to pass.

Line up the two Recoil Spring Rods with the holes in the back of the receiver and push them through.

Step 4. Attaching the Barrel to the Stock assembly.
Simply align the barrel assembly with the end of the receiver and screw the cap tight.

Lift the spring catch a little to allow the cap to tighten fully.

Before going any further, lift the ejection port cover clear, pull the bolt back to cock it using your fingers then, squeeze the trigger and check free movement of the bolt within the receiver.
Step 5. Fitting the Stock

Slide the stock back into the channels either side of the Receiver.

Push the Spring loaded button to line up the groove allowing the Stock to push home fully.

Step 6. Magazine
Push the Magazine up into the Well.
If the gun is not going to be fired, always make sure the magazine is empty. If cartridges are loaded into magazines and left for long periods then the Magazine Springs may weaken and become coil bound.
Step 7. And finally…
Wipe your Grease Gun down with a soft oily rag to get rid of any excess oil and finger prints.
Ref:http://www.mp40modelguns.com/forum2/viewtopic.php?t=2344Reassembly Ref:http://www.mp40modelguns.com/forum2/viewtopic.php?t=2343 Basic Strip Down
Ref:http://www.mp40modelguns.com/forum2/viewtopic.php?t=2345 Basic Clean & Lubrication
Ref: http://www.mp40modelguns.com/forum2/viewtopic.php?t=2349 Parts Inspection
Ref:http://www.mp40modelguns.com/forum2/viewtopic.php?t=2293 Cleaning & Prep Cartridges
Ref:http://www.mp40modelguns.com/forum2/viewtopic.php?t=2323 Loading Hudson Cartridges
Ref:http://www.mp40modelguns.com/forum2/viewtopic.php?t=2266 Loading MGC Cartridges
Ref:http://www.mp40modelguns.com/forum2/viewtopic.php?t=2352 Troubleshooting
Ref:http://www.mp40modelguns.com/forum2/viewtopic.php?t=2351Tuning Tips Cerwyn
Last edited by Cerwyn on Thu Aug 10, 2017 11:01 am; edited 2 times in total (Reason for editing : Images updated to Servimg) | |
|
