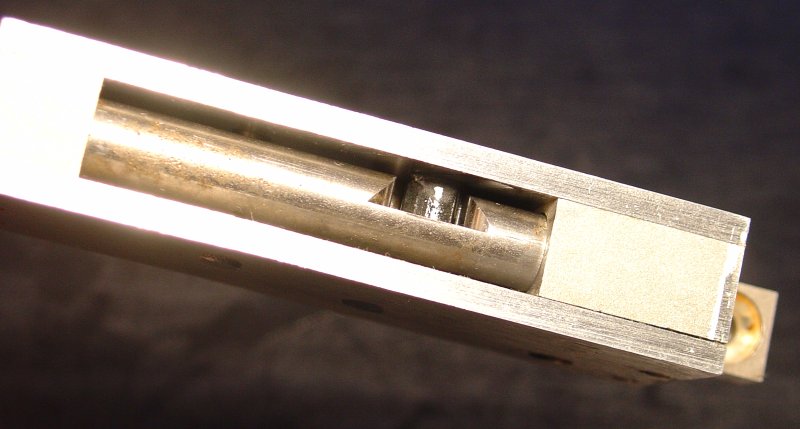
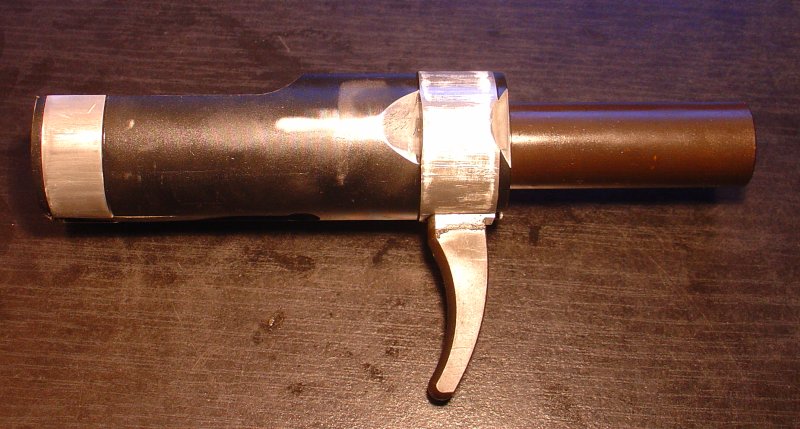
IntroductionFor basic disassembly,
enough for cleaning, please refer to this thread:
https://mp40modelguns.forumotion.net/modelgun-stripping-and-rebuild-guides-f12/caw-mp18-basic-disassembly-for-cleaning-t2215.htmThis is an advanced disassembly guide describing how to completely strip down receiver should you need to make major repairs.
You should
NOT go through this process unless absolutely necessary (breakage or other serious problem). Due to weak materials used in modelguns I suspect that receiver will not withstand many such cycles. I have disassembled mine in search for a problem that is described on review page, "Problems" section:
https://mp40modelguns.forumotion.net/modelgun-reviews-f4/caw-mp18-custom-modified-to-fire-caps-t1895.htmI took me about three days to figure out how to unscrew the end cap without too much damage.
Note: colour of pictures is sometimes (incorrectly) brownish, sometimes gray/black (correct). Difference was caused by combination of light and camera unable to set up white colour properly.Use the following diagram for reference:
 Receiver disassembly
Before you get to the chamber (not shown on diagram) you might want complete all steps listed in basic disassembly. You should end up with just the receiver part for further work, easier to manipulate than receiver with barrel and barrel shroud.
It is better to remove sight and trigger assemblies too. They have sharp edges and may hurt your body while you try to unscrew the cap from receiver.
Remove sight by unscrewing both screws (#9, #10) and taking it off the receiver. You might need to flip sight (#12) to uncover one of the screws. Store parts.


Remove trigger assembly (#19) by unscrewing both screws (not shown on diagram) and taking it off the receiver (#6).


You are now ready to face the biggest problem in disassembly. It is near impossible to unscrew the end cap (#13) from the receiver (#6). There are two main reasons. Cap is made of steel, while receiver is softer aluminium. when you turn cap, it starts eating threads on the receiver, there is also huge friction. Second thing is that receiver "springs out" and locks itself inside the cap. To overcome these problems, you need a correct method.
Process is as follows:
- get rubber gloves. Without them it was nearly impossible to turn anything.
- get a vice or other tool that can apply adjustable pressure from sides.
- wrap end of receiver, near cap, in protective cloth and put it in the vice, very close to the cap. Orientation is important - make sure that the cutout for bolt handle is up, and pressure can be applied as if this gap was to be reduced. Apply EXTREMELY DELICATE pressure, try to turn cap. Spray oil into the gap between cap and receiver. Cap will probably unscrew partially and might get tight again at some point. Do not use too much force, apply SLIGHTLY more pressure if that happens. If you feel heat coming off from the receiver or end cap - there is too much friction, you risk damage. You should get the hang of it as you work on it.
- remove end cap together with attached rod (#24) and latch (#14).
- grab bolt handle (#34) and slide whole bolt together with return spring (#36) to the back, navigating through the slot in receiver.


Before you attempt to put it back, REMEMBER to thoroughly clean threads, taking care not to damage them further. There will be most likely a dirty paste made from oil and aluminum shavings. Some threads can be clogged - inspect closely and restore them carefully using a very thin piece of metal.
You should now have the following major parts: receiver, sight assembly, trigger assembly, bolt, return spring and end cap assembly. Thorough inspection is now possible.
Dissasembling of the end cap is simple: unscrew the latch part (#14), it is simply screwed onto the rod (#24). End cap is now separated in three parts: cap (#13), rod (#24) and latch (#14).


There is not much to do here, except for conservation.
Disassembling bolt now. Note hole opposite bolt handle (#34). There is a screw (#35) that hold bolt handle to the bolt (#32). Unscrew it if you want to separate handle, or tighten if handle is too loose. Note another hole, closer to bolt face, where profile of the bolt changes. Inside there is a screw (not shown) that holds extractor (#33) . Unscrew it and separate extractor.


If extractor is bent or out of shape due to damage, you can try to restore it now. When cartridges block in the chamber extractor will hit them, damaging the lip. Also if extractor gets bend outwards, the outward part will scratch against receiver and prevent correct working of the bolt.


